







Meals-on-Wheels Round Up Donations
We integrate with the Meals on Wheels Round-Up Donations program so your customers have the option t
 September 02, 2026
You can give your customers an easy way for them to add themselves to a register transaction using the Customer Phone Entry feature. If you use IT Retail Payments for your processing and if you use the P5 Card Reader, you can activate this feature. Take a look!
Please Note: This feature is only available if you are using IT Retail Payments.
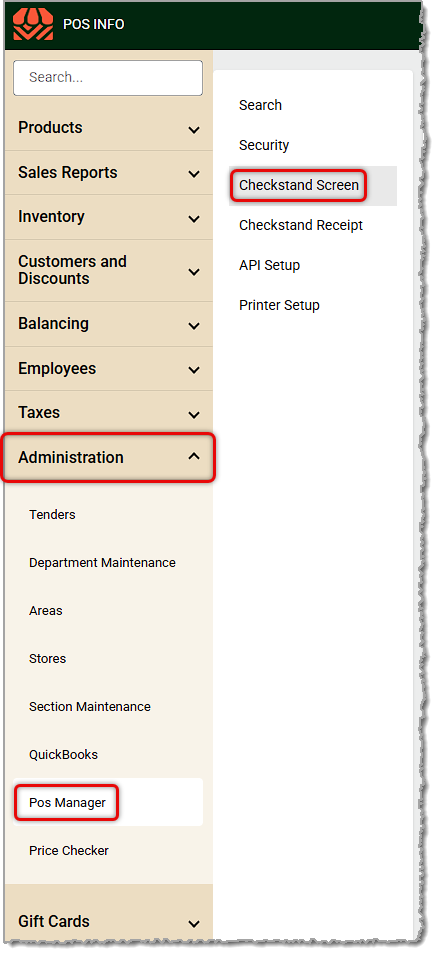
You can activate this feature by going to the Administration section of the main menu on the left. Click to open the POS Manager and go to the Checkstand Screen tab, as pictured below.
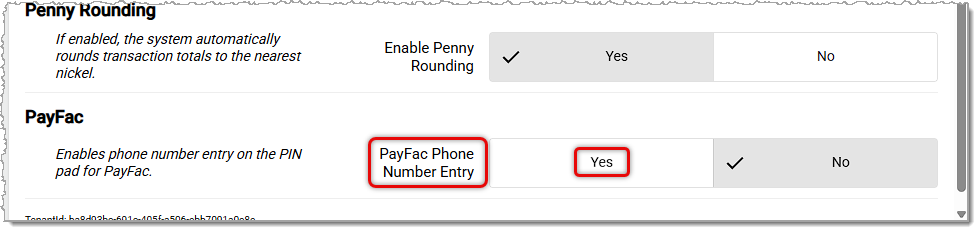
Scroll to the bottom of the page, and in the PayFac section, click Yes on the setting for PayFac Phone Number Entry. Scroll back up to the top and click the Save button in the upper right.
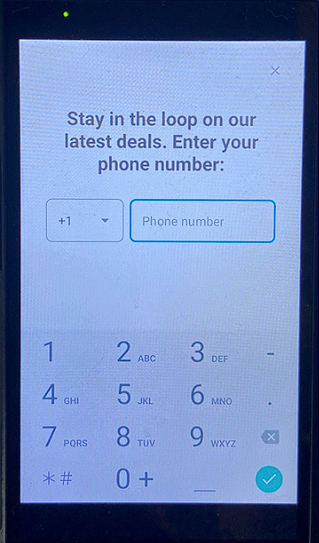
With this feature active, as soon as you scan in the first item for a transaction, the P5 Card Reader will ask the customer for a Phone Number, as pictured below.
If the phone number is saved in the system, the Customer with that phone number will be added to the transaction. If the phone number is brand new, then it will automatically create a Customer with the name New Customer and attach that phone number to the account, as pictured below.
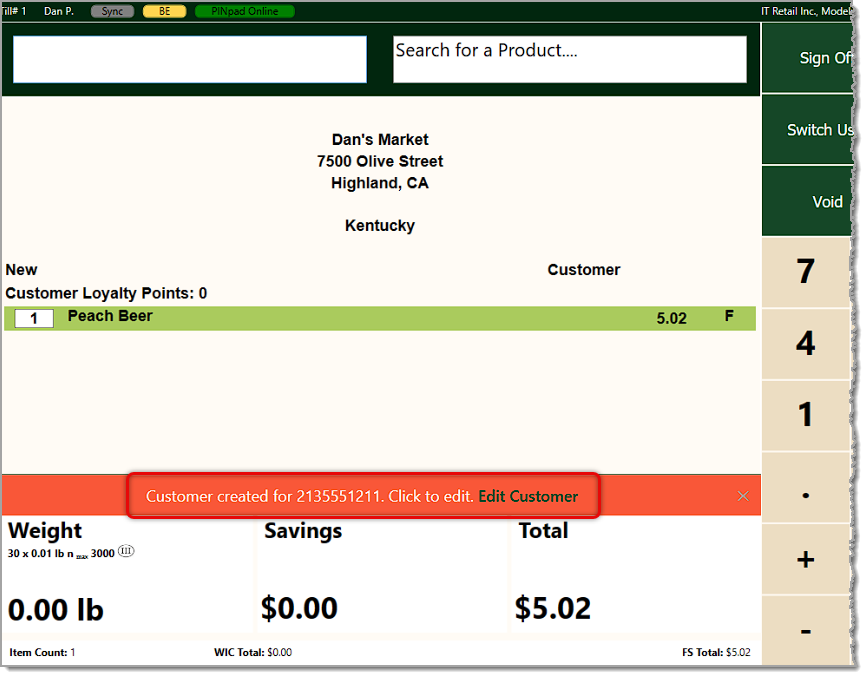
You can click Edit Customer in the red bar to add details to the customer's information, if they like.
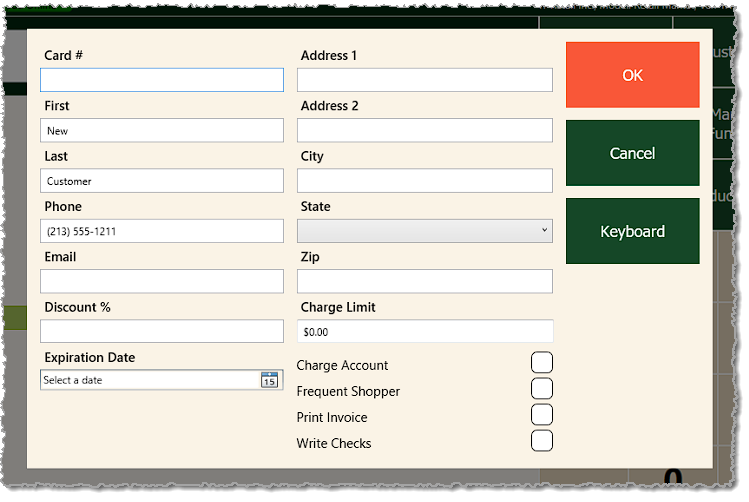
After you make your changes, click the OK button and you can send the new info to the Back End.
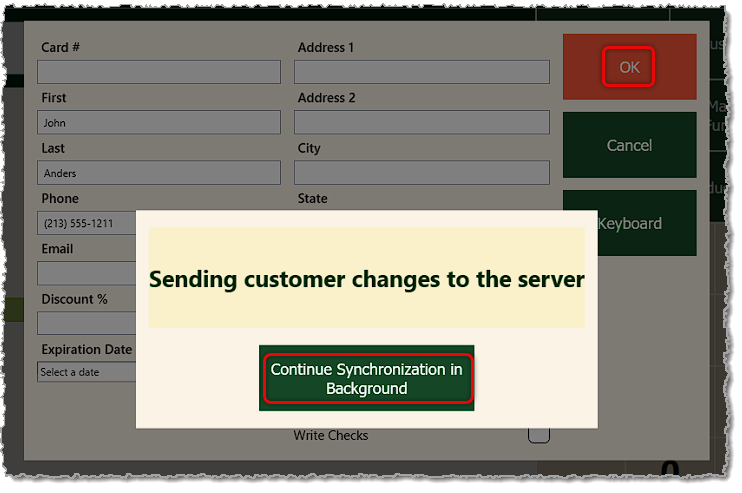
You can then finish the transaction and the customer will be attached to it and their name printed on the receipt.
Q: I have a question, but I can't find my answer here. How do I get more assistance?
A: If you need immediate assistance, the IT Retail team is available 24/7. Feel free to contact our support team at 877-752-0625. You can also email us at support@marktpos.com, and we will respond within 24 hours.
Is this page helpful?
×Help us improve our articles