







Meals-on-Wheels Round Up Donations
We integrate with the Meals on Wheels Round-Up Donations program so your customers have the option t
 January 26, 2026
The Profile page provides a centralized view of your account, allowing authorized users to manage account details, view set rates, link terminals, update bank information, and control feature flags.
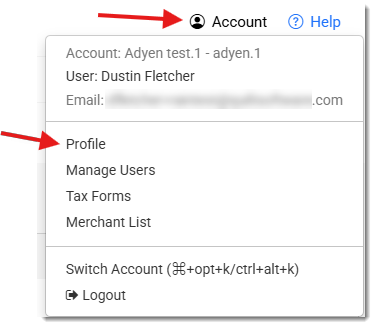
You can get to your Profile page by logging into your Payments Portal and clicking on the Account drop-list in the upper right and then clicking on Profile.
The Transaction Rates area of the page shows rate type (Flat Rate, Cash Discounting, or Interchange+), with rates broken out by network and method.

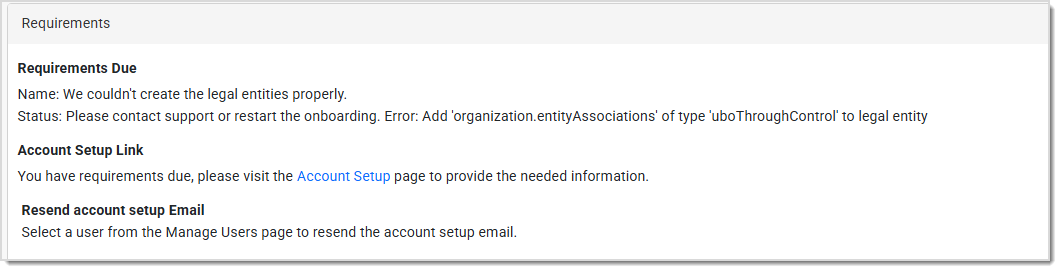
The Requirements area lists any outstanding onboarding requirements. You may see additional requirements even after going live based on risk or business changes. Please contact our support team for more information and assistance with resolving any requirement issues.
The Bank Accounts area of the page shows the active account that payouts are sent to using an ACH transfer. Updates can be made through this section of the portal. Editing the bank account triggers Restricted status until the updated account is verified (can take up to 24 hours for a manual validation).

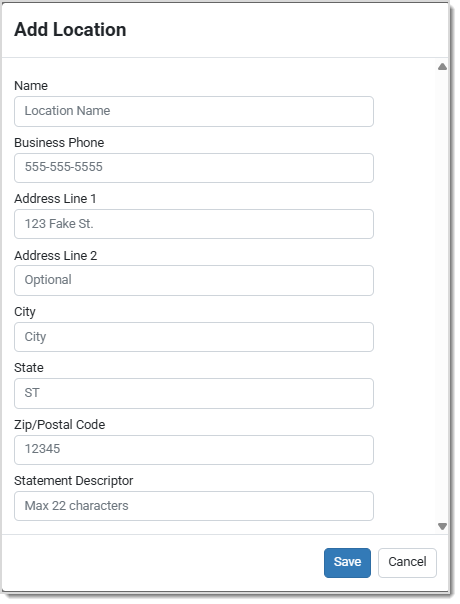
At least one location needs to be set up on your account for you to set up and activate a terminal. The terminal will be linked to a location when setting up the terminal.
When adding a location you will be asked to fill in the following information about the location:
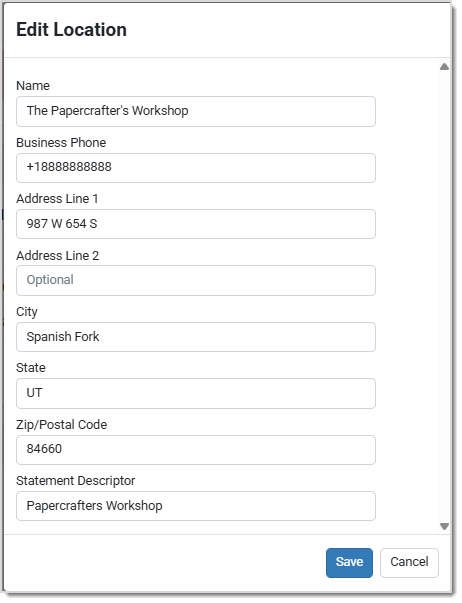
Once you have set up a location, you can edit the Name, Address, and Statement Descriptor by clicking on the name of the location.

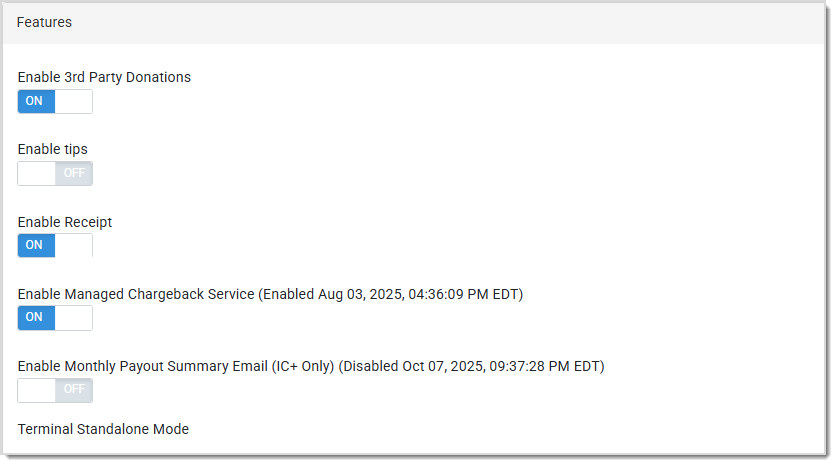
The Features section allows you to enable and disable features on your account and terminals. Certain features like tips and donations have an additional configuration screen to control the prompts that are presented to your customers.
Below is a list of some available features you may see:
Terminals that are linked to your account will display here, allowing you to edit the name on the terminal and control the features that are available.
💡Note: Once a terminal is linked to a location, it has to be deleted and added again to change the location to which it is linked.

Adding a terminal is easy. Use the following steps:
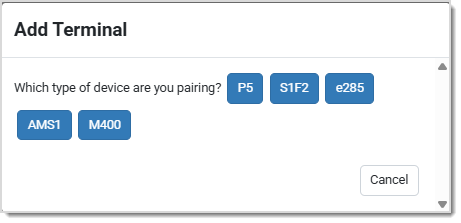
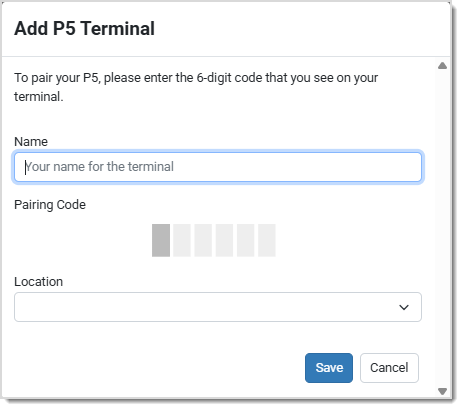
If you have difficulty or need assistance linking your terminal to your account, please contact our support team using the information at the bottom of the page.
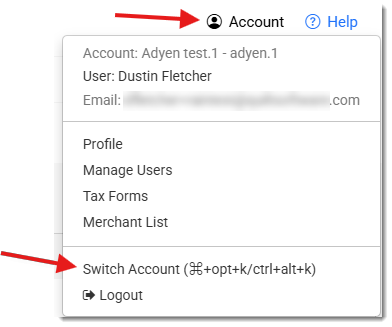
When a business has multiple accounts for its different store fronts, you can link the different accounts together to easily switch between them with one login ID. To link accounts together, please contact our support team to set up the multi account link. Once the link between the accounts is set up, the permissions will need to be modified to include the multi-account permission as well as access to the accounts they will need.
Once the linked accounts and the permissions have been set up, the option to Switch Account will appear under the Account drop-list will appear allowing you to change the account that you are viewing.
Q: I have a question, but I can't find my answer here, how do I get more assistance?
A: If you need immediate assistance, the IT Retail team is available 24/7. Feel free to contact our support team at: 877-752-0625. Or you can email us at support@marktpos.com and we will respond within 24-hours.
Is this page helpful?
×Help us improve our articles