







Cashier Training
Welcome to IT Retail, we’re so glad you’ve chosen our POS for your store! This article will guide yo
 November 20, 2025
Processing refunds and returns is a natural part of retail sales. We’ll walk you through the steps of running a refund in IT Retail, whether or not the customer has the product.
Please Note: Each tender type has its own refund setting, so not all of them will be available for refunds. You can configure refund settings in the Back End by going to Administration > Tenders.
If the customer requesting a refund or return has both the product and their receipt, then the process is straightforward. Here’s what you should do:
From the Front End, click or tap on Refunds & Voids on the far right.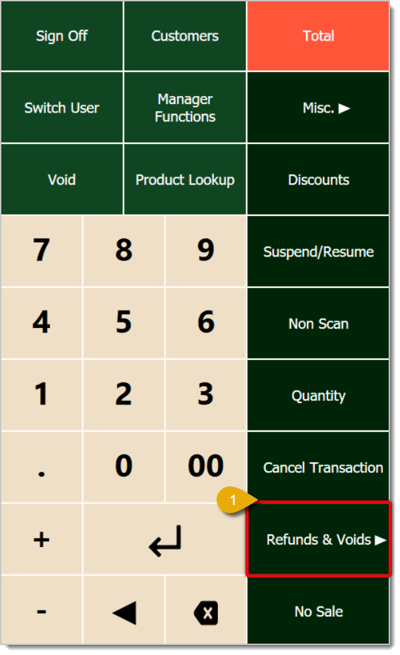
You’ll see more options displayed in the panel. Click or tap on Refund.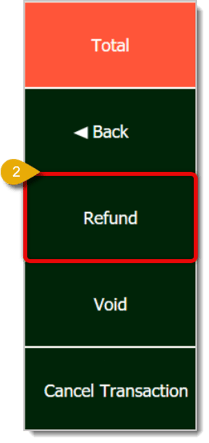

Scan the item.
If the item has a weight-based price, place it on the scale to proceed with the refund.
If the item’s weight has changed, proceed with the refund using the other method detailed below.

Click or tap on Total in the upper right.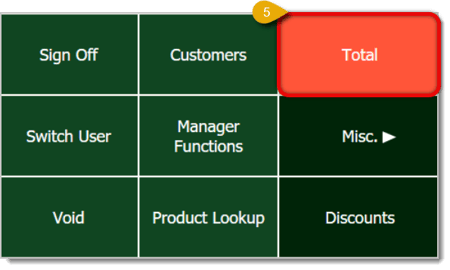
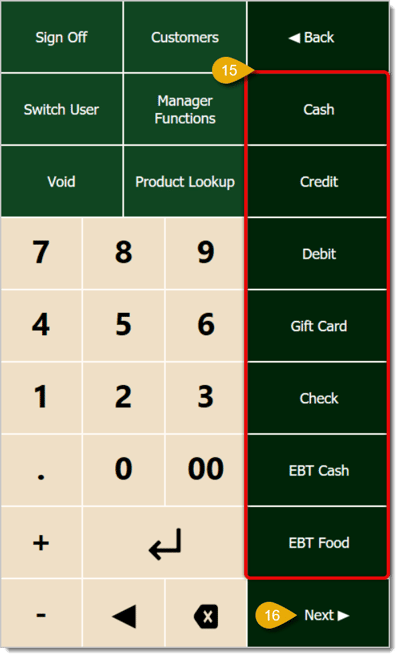
Depending on your store policies and on the customer’s preference, click or tap on the appropriate tender type for how you want the funds to be returned to the customer.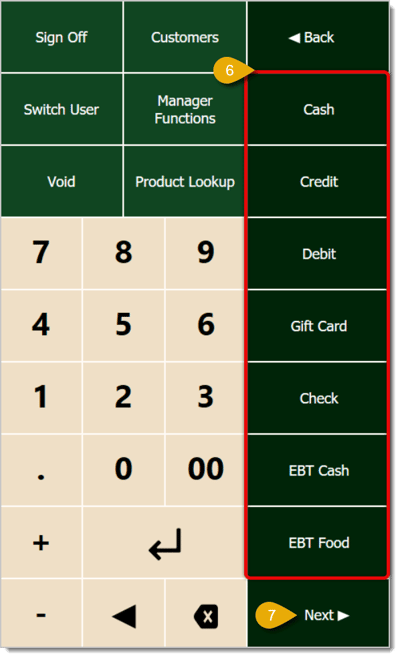
You can also click or tap the Next button at the bottom to see other options for Pay on Account and Receive on Account (these are only applicable if the customer has an in-store charge account).
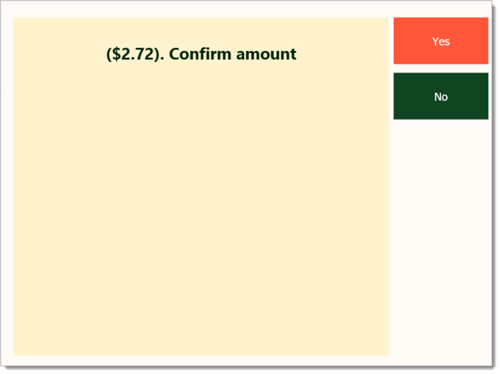
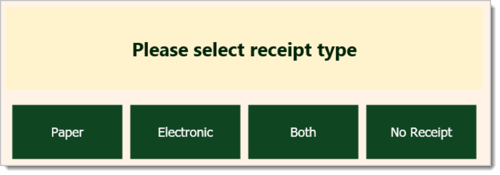
If the customer doesn’t have the physical product, or its weight has changed since they bought it (and if they are still able to do a return for it based on your store policies), follow these steps:
Click or tap on Refunds & Voids on the far right.
Click or tap on Refund.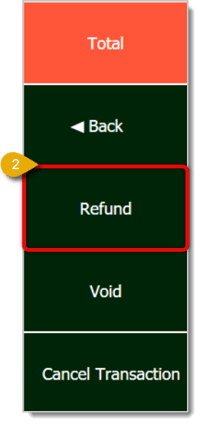
You’ll see RF in the Item Scan Field on the upper left.
Click or tap on Non Scan on the far right.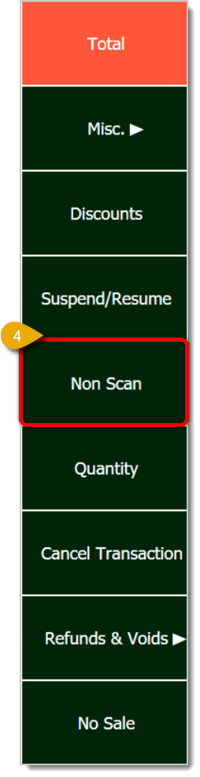
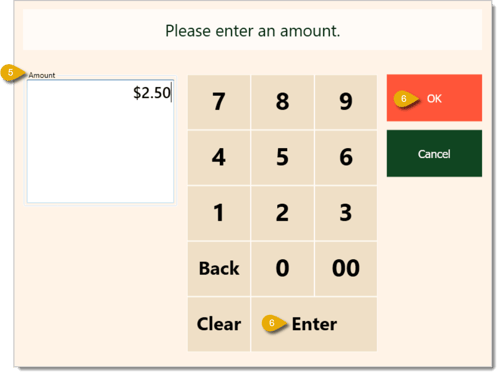
In the Department window that pops up, click or tap on the Department the item is from. Please Note: Only Departments that have been set to Open in the Back End can work with Non Scan items. If your departments span multiple pages, you can use the Next and Previous buttons on the right to browse.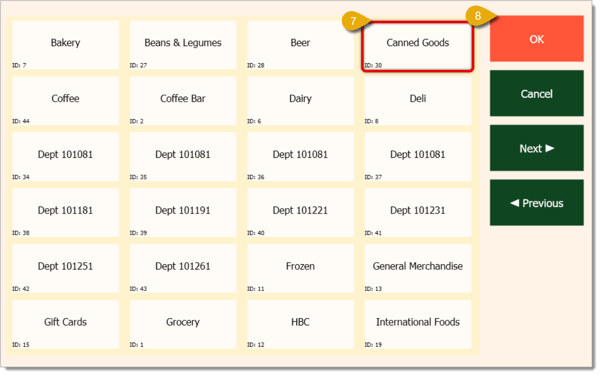
After you’ve selected the department, click or tap on the OK button.
A new window will pop up for you to enter the product description. If your register doesn't have an attached keyboard, use the Keyboard button to open the on-screen keyboard.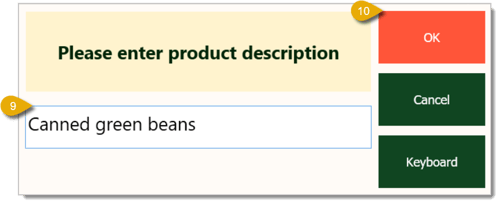
Click or tap on the OK button again to update the transaction.
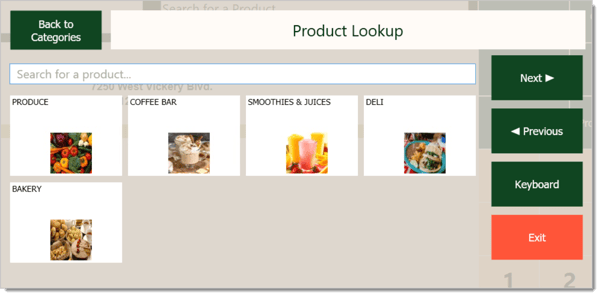
Alternatively, you can also use Product Lookup immediately after you click or tap on Refund. Find and enter the product to add it as a refund.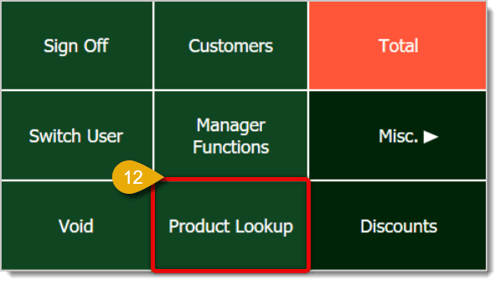
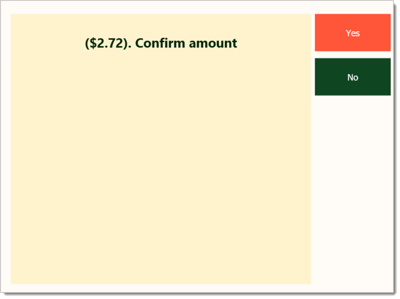
Click or tap on Total.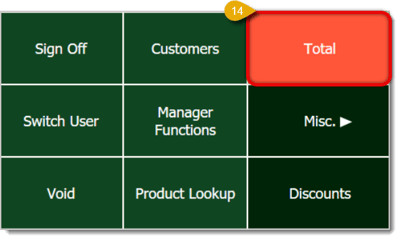
Q: I have a question, but I can't find my answer here. How do I get more assistance?
A: If you need immediate assistance, the IT Retail team is available 24/7. Feel free to contact our support team at 877-752-0625. You can also email us at support@marktpos.com, and we will respond within 24 hours.
Is this page helpful?
×Help us improve our articles