







Manager Functions in the Front End
There is a wealth of administrative functionality for you in the Manager Functions area of the Front
 January 13, 2026
If you have multiple stores, you can create and organize them in this part of the IT Retail system. This article will show you how to set up any Stores you might need. See how easy it can be!
You can get to this part of the system by logging into the Back End and opening the Administration menu. Click on Stores to get started.
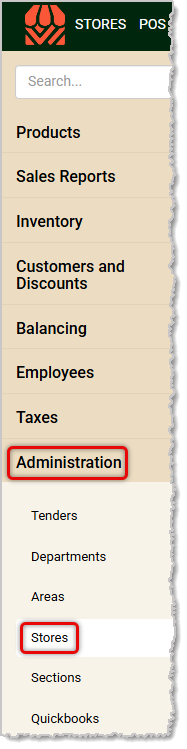
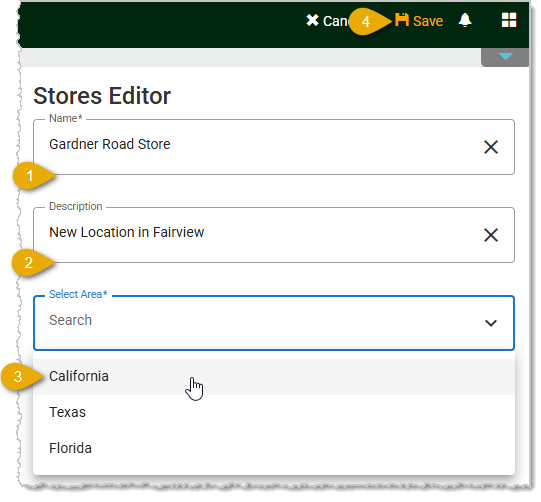
To work in this area you need special permission, so if you don't have that you'll need to work with our support team or your onboarding specialist in getting your stores in the system. You will first need to create at least one Area in the system for your Stores before you can add stores to the system. An example of this might be that you do business in California and you have seven stores in different California towns. You would use the Areas page in the Administration menu to create that Area, and then as you create stores, you can assign them to that Area.
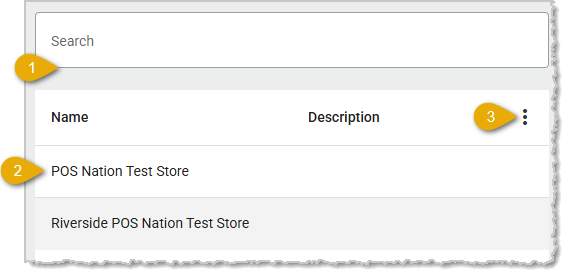
To create a new Store, you will need to contact Support at the number at the bottom of the page, or contact your Implementation Specialist. They can add your store for you, and in this area, you can edit using the right side of the page pictured below, if needed:
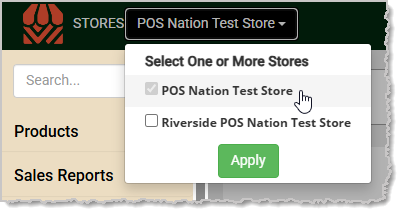
Stores you have created will be active in your Stores menu at the top of the system, and you can change between them to work on them as needed.
Q: I have a question, but I can't find my answer here. How do I get more assistance?
A: If you need immediate assistance, the IT Retail team is available 24/7. Feel free to contact our support team at 877-752-0625. You can also email us at support@marktpos.com, and we will respond within 24 hours.
Is this page helpful?
×Help us improve our articles