IT Retail

Vendor Price Import

January 06, 2026January 06, 2026

Please Note: This tool and the Vendor Price Import Products tool currently integrate only with the vendor Associated Grocers of New England (AGNE). They will only be of use to you if you order from that vendor, which serves the northeastern region of the U.S. We plan to add more vendors in the future.

Need the latest pricing updates from your vendor? The Vendor Price Import tool allows you to integrate and receive updates automatically as they are posted. This article will show you how the integration is set up. Explore what's there for you! 


Vendor Price Import Setup

From the Back End open the Inventory menu and click on Vendor Price Import.
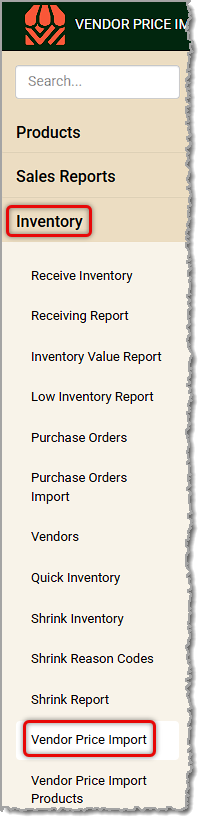
Image showing the Vendor Price Import link in the Inventory menu of the  Back End.
Setup for this area is technical and is something we recommend having our support team help you do. Please call us at the number listed at the bottom of this article to help you get set up. If you want to understand how the setup works, read on.


FTP Setup for Vendor Price Import

The middle area of the page lists all integrated vendors, if any. This area shows the Host address, the Location, and the File Prefix used in the integration. 
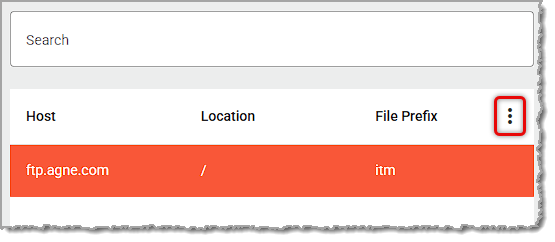
Image showing the list of integrated vendors in the Vendor Price Import tool in the Inventory menu of the  system's back end.

You can click the Action menu on the right (three-dot stack) to adjust the columns that display here.
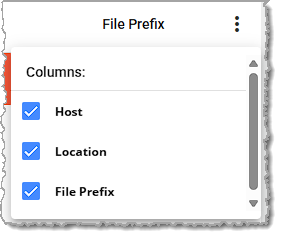
Image showing the action menu of the Vendor Price Import page with options for the columns that display.

The integration setup area is on the right and has the following:
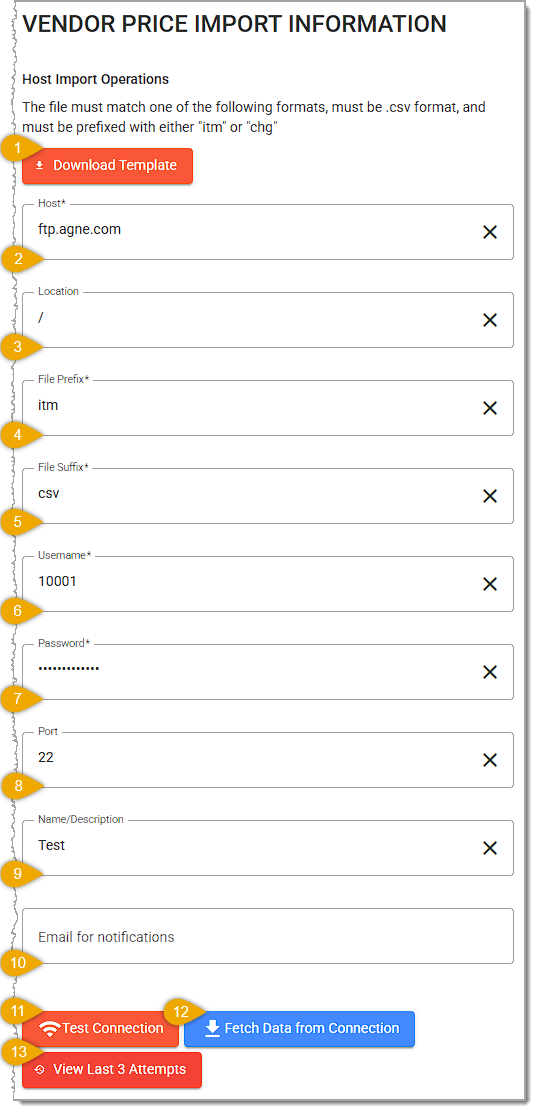
Image showing the configuration options for Vendor Price Import in the Inventory menu of the  system's back end.

  1. Download Template — You won't need to do anything with the Vendor Price Import template, but the file contains columns for all product data points. Support will work with this file as needed.
  2. Host* — Enter the FTP (File Transfer Protocol) URL for the vendor's FTP Host.
  3. Location — Support will set this up for you, but it will likely look like the entry pictured above.
  4. File Prefix* — This will need to be either 'itm' or 'chg', and support will help you with this.
  5. File Suffix* — In all cases this will be 'csv'. 
  6. Username* — The vendor will provide you with login credentials for the FTP, and you'll enter the Username from those credentials here.
  7. Password* — Enter the password here from the FTP credentials provided to you by the vendor.
  8. Port — The support team will enter his information for you: it will look like the example above.
  9. Name / Description — If desired, you can enter a name for your integration with the vendor. The Vendor name is a good option here.
  10. Email for Notifications — Whenever the integration detects an updated file in the server, the system can send an email notification about the update to the email address you enter here.
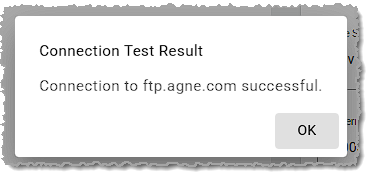
  11. Test Connection — This is mainly used after initially setting up the integration to make sure the connection works, but you can click this button to verify that the connection is functional.
    Image showing a confirmation of working connection on the Vendor Price Import page in the Inventory menu of the  system's back end.
  12. Fetch Data From Connection  Click this button to manually fetch the latest price updates from the vendor. These will show up in the Vendor Price Import Products area of the Inventory menu.
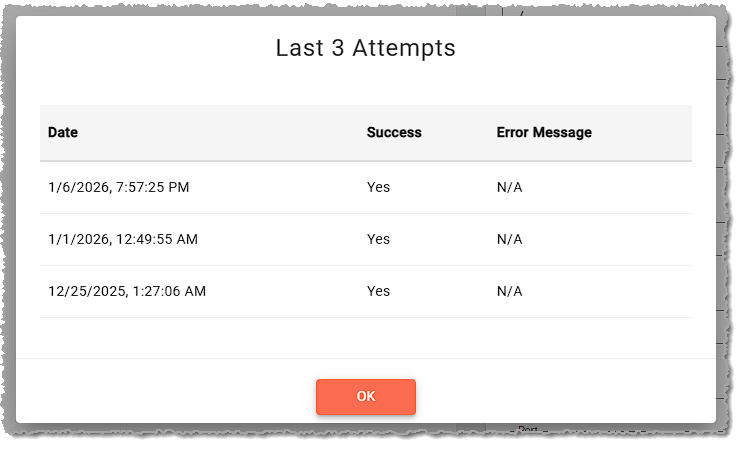
  13. View Last 3 Attempts — Click this button when you have finished entering your adjustments and are ready to update the item. A confirmation will pop up asking you if you want the changes added to the Label form so your labels will print the updates. Click to confirm as you like, and the Quick Inventory form will clear for you and the save will be confirmed as well.
    Image showing the last three update attempts for a vendor price import in the Inventory menu of the  system's back end.

Once the integration is configured, you should click Test Connection to make sure it works properly. From that point forward, as product price updates become available through the integration, they will appear in the Vendor Price Import Products area. Full details on that area are available in the article linked below.


Related Articles

Product Maintenance

Vendor Price Import Products


Frequently Asked Questions

Q: I have a question, but I can't find my answer here. How do I get more assistance?

A: If you need immediate assistance, the team is available 24/7. Feel free to contact our support team at 877-752-0625. You can also email us at support@marktpos.com, and we will respond within 24 hours.

Need Help?

Can't quite find the answer you're looking for? Our support team is just a call away.