How to Use Self Checkout

December 02, 2025
Self checkout systems are useful in cutting down checkout lines for customers. The IT Retail Self Checkout system is simple enough for both small business employees and customers to quickly navigate a transaction. In this article, we’ll show you the self checkout functions and steps that store clerks and managers should be aware of.
Please Note: The Self Checkout system will only accept credit, debit, and EBT cards. It also does not have a cash drawer or admin options such as Manager Functions.
Using Self Checkout
The self checkout screen will start off with a screen asking the customer to scan an item or touch the screen to start the transaction. On the bottom left, you’ll also see the Sign Off and Close Lane buttons.
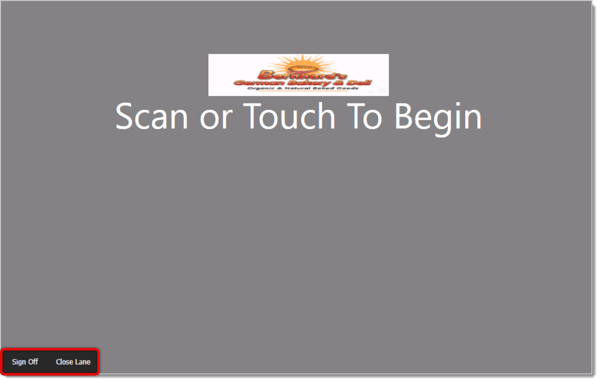
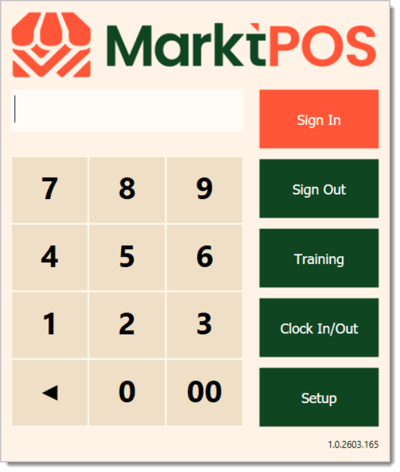
- Sign Off — Tap this to sign out whichever cashier or employee was logged into this self checkout lane. The screen will show the sign-in menu again. Use this if the self checkout cashier's shift is ending so one in the next shift can sign on.
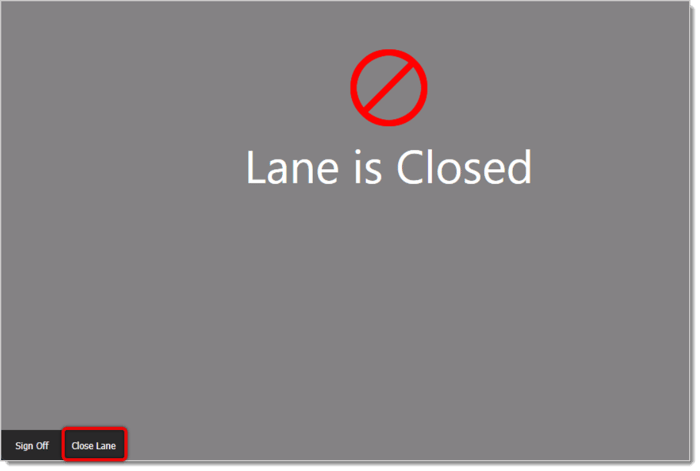
- Close Lane — Tap this to close the self checkout lane entirely. The screen will show that the lane is closed. To reopen the lane, click or tap on the Close Lane button again.
Once the customer starts the transaction, they’ll be directed to a screen that looks like the image below. Here are options available to customers at self-checkout:
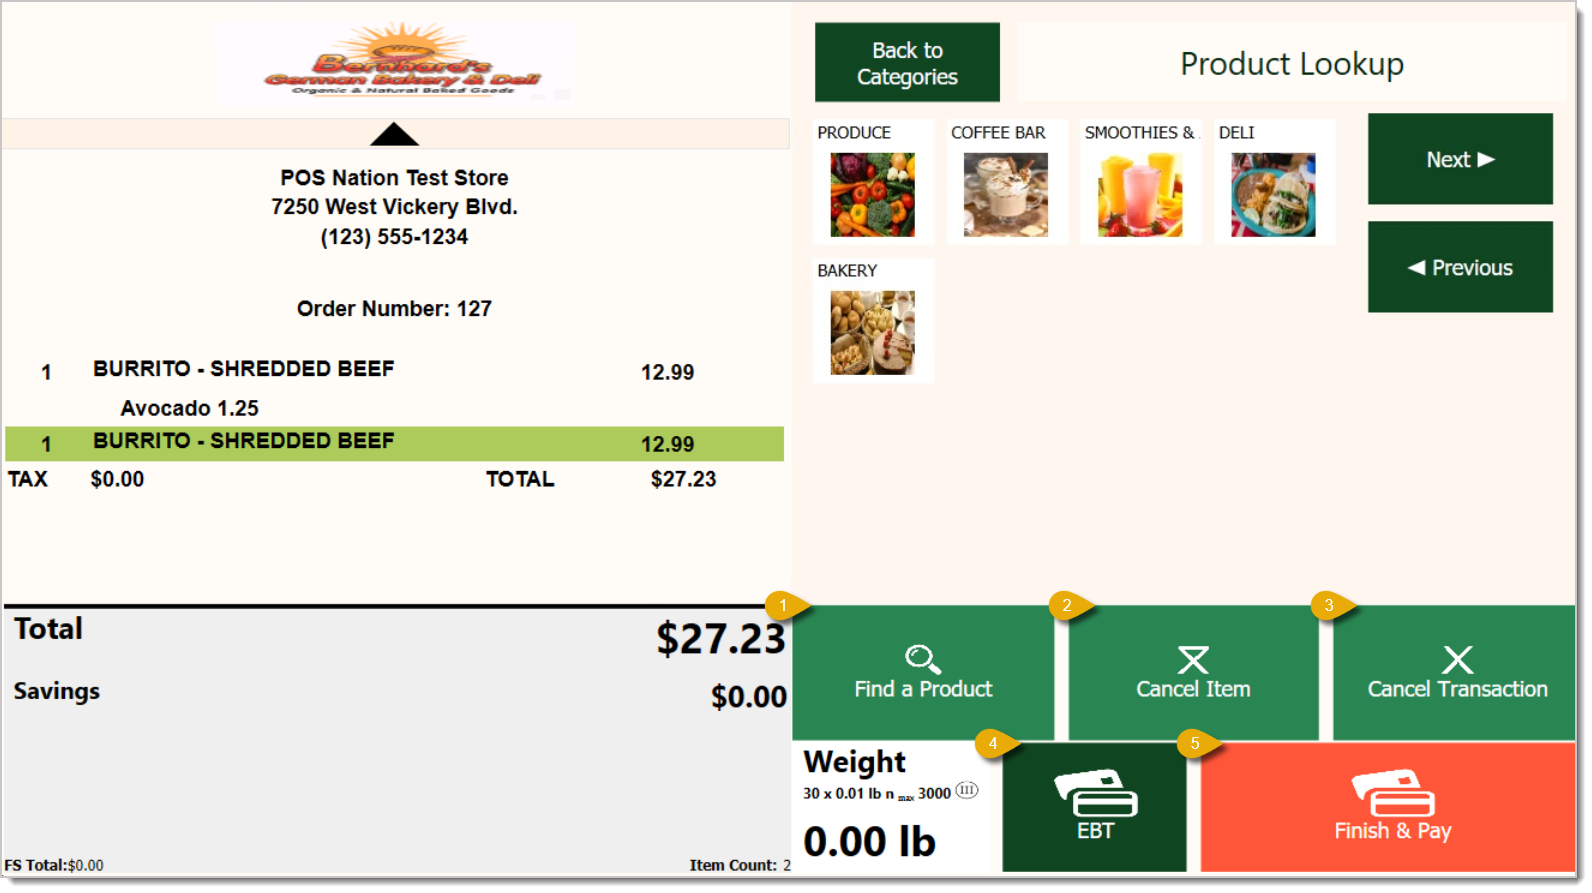
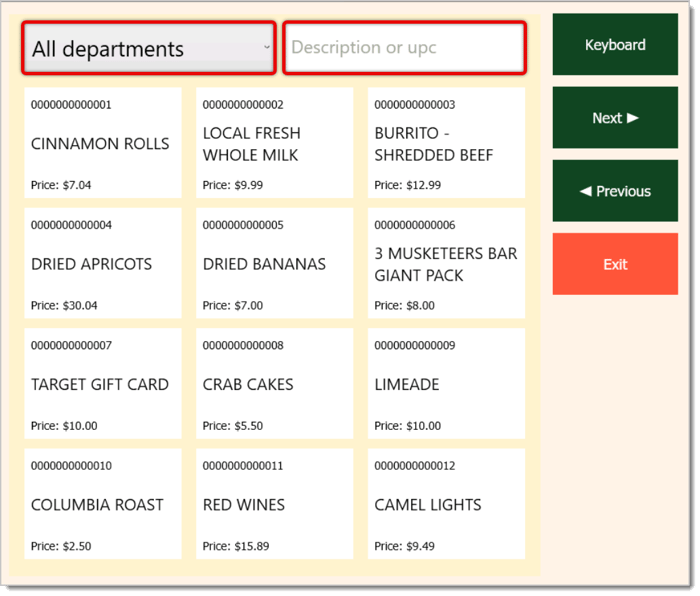
- Find a Product — If an item doesn’t have a scannable UPC or PLU code, customers can tap here to find what they want and add it to the transaction. This will open a window so the customer can search for the item. They can use the search bar on the top right of the window to enter a description or UPC, or they can use the Departments drop-list on the left to narrow down their search. Once the customer finds what they need in this window, they can tap on the item to add it to the transaction.
- Cancel Item — If a customer no longer wants an item, this voids the product from the transaction. The customer can tap on the line item they want, and whichever one is highlighted will be removed when they tap to Cancel Item.
- Cancel Transaction — If the customer doesn’t want to complete the transaction, this button will cancel all of it. Once a customer taps this button, they’ll see a window directing them to get a cashier or manager’s assistance to cancel it. If the Cashier Role does not have the ability to cancel transactions, a customer at self checkout will see a window directing them to get a manager’s assistance. If cashiers can cancel transactions, a customer can cancel their transaction without a manager’s help. You can configure this in the Back End by navigating to Employees > Roles.
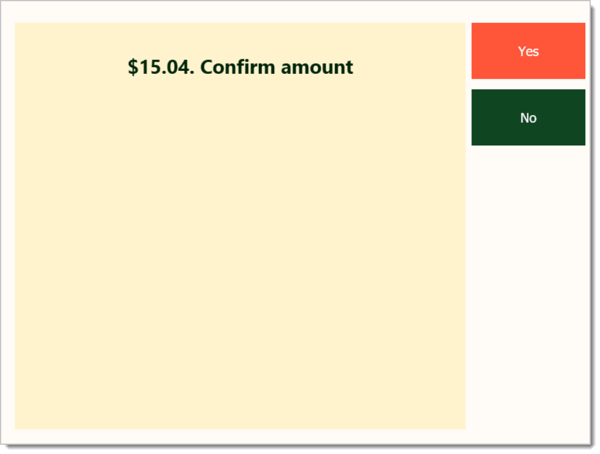
- EBT — For customers using EBT / SNAP, they can tap here to pay. They’ll see a window asking them to confirm the amount to be paid with EBT. After the customer taps Yes and swipes their card, they can then select their receipt type. As in the cashier’s register screen, only items that are Foodstampable will be eligible to be paid for this way. If there are ineligible items, the customer will need to use a different payment type as described in number 5 below. The customer can tap Yes and swipe their card.
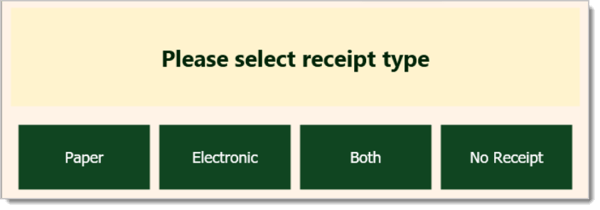
- Select Receipt Type — The customer can then select their receipt type if they have paid the entire amount of the transaction.
- Finish and Pay — Once a customer has scanned all of their items, they can tap here to enter their payment and finish the transaction. As described in number 4 above for EBT transactions, the customer will be asked to confirm the amount they're paying. Once they’ve swiped their payment method, they can select their receipt type and finish the transaction.
Related Articles
Set Up Self Checkout
Working with Products in Transactions
Roles
Frequently Asked Questions
Q: I have a question, but I can't find my answer here. How do I get more assistance?
A: If you need immediate assistance, the IT Retail team is available 24/7. Feel free to contact our support team at 877-752-0625. You can also email us at support@marktpos.com, and we will respond within 24 hours.
Welcome to IT Retail, we’re so glad you’ve chosen our POS for your store! This article will guide yo
Adding products to a customer’s transaction is straightforward. Below is a step-by-step guide on how
You can ring up a product as a Non-Scan item if it doesn’t have a UPC / PLU code or it's not yet reg








Is this page helpful?
×Help us improve our articles