







Receive Inventory
The Receive Inventory page allows you to easily receive product deliveries and to update quantities.
 December 15, 2025
Inventory shrinkage refers to when the number of products your store has on hand is less than what's recorded. Tracking your store's shrinkage gives insight into how you're losing products and the total value of the products you're losing. By managing shrinkage, you can get a more accurate look into your store's total losses and find ways to minimize your shrinkage. Read on to see how to manage inventory shrinkage in IT Retail!
To start, you'll need to create your Shrink Reason Codes so you will be able to add reasons for shrinkage.
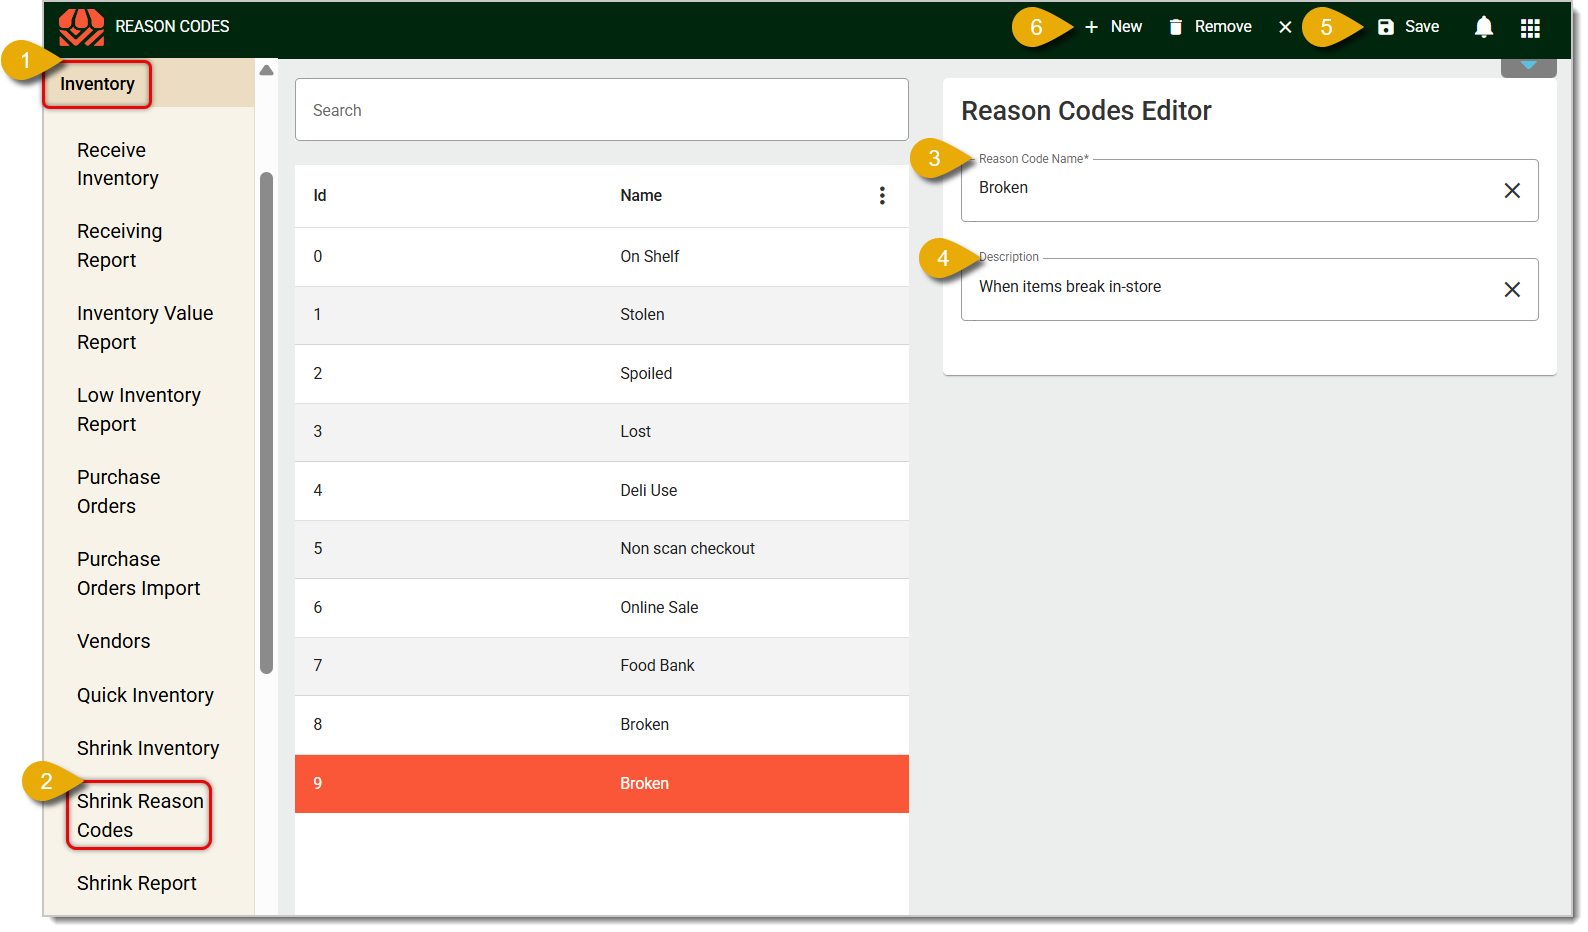
Click on Inventory in the main menu.
Click on Shrink Reason Codes.
In the Reason Codes Editor, enter a Reason Code Name, which will denote why an item was lost. This field is required to save the reason code.
You can optionally also add a Description.
Click on Save in the top right of the screen when you're finished.
Click on New to create a new Reason Code.
Repeat the process until you've made all of the Reason Codes you need.
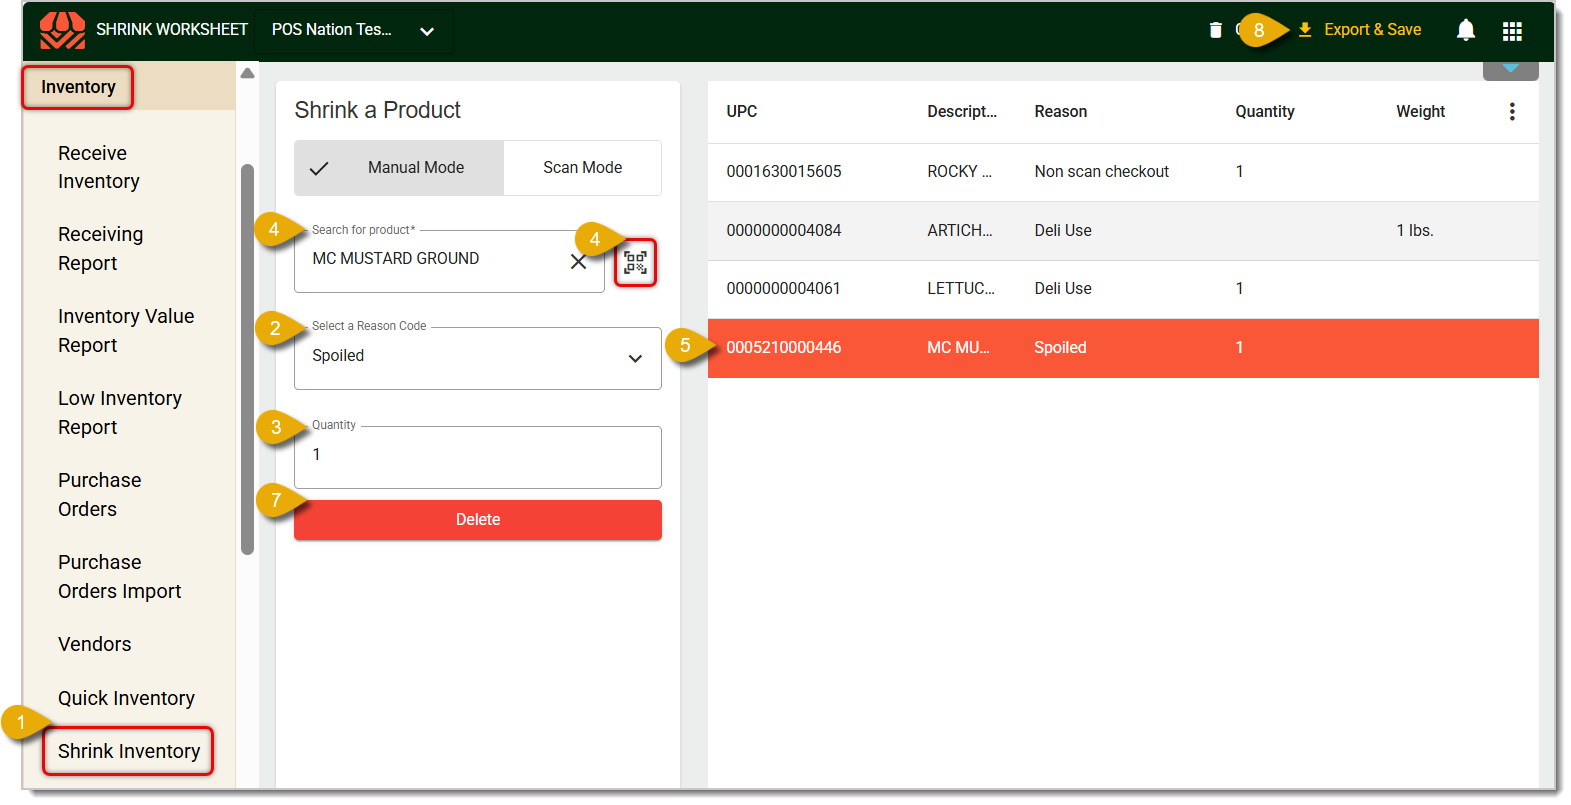
Navigate to Inventory > Shrink Inventory.
Under Shrink a Product, select a Reason Code you've saved.
Enter the Quantity of the item you've lost.
Enter a product's name under Search For Product, or scan it in by clicking on the Code icon to the right of the Search bar
(This will use your device's camera). Once you've selected the product, it will automatically load into the table to the right.
If you need to edit an item's shrinkage details, click on the item to select it; the item will be highlighted, and its details will pre-populate under Shrink a Product.
Edit whatever details you need. Your edits will automatically update corresponding fields in the table.
Alternatively, you can also remove the selected product by clicking on the Delete button.
After you've finished adding and editing to Shrink Inventory, click on the same Save and Export button as before that's located on the top of the page. You will lose your changes if you do not Save them.
Once you've saved your work, IT Retail will automatically open a downloadable file with your shrink data.
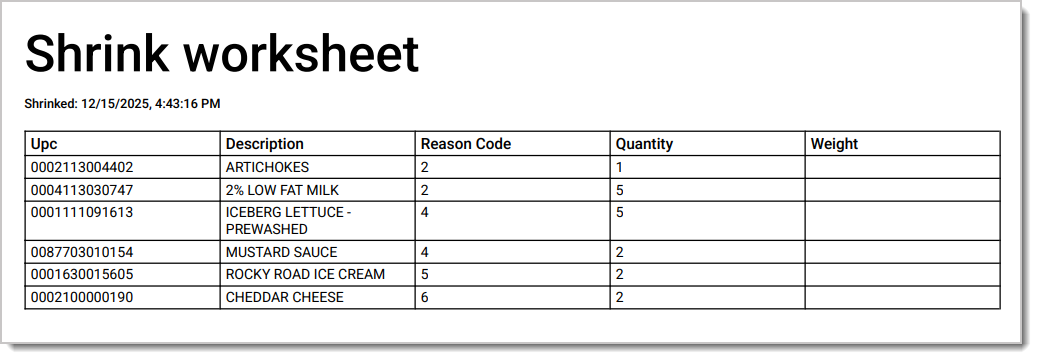
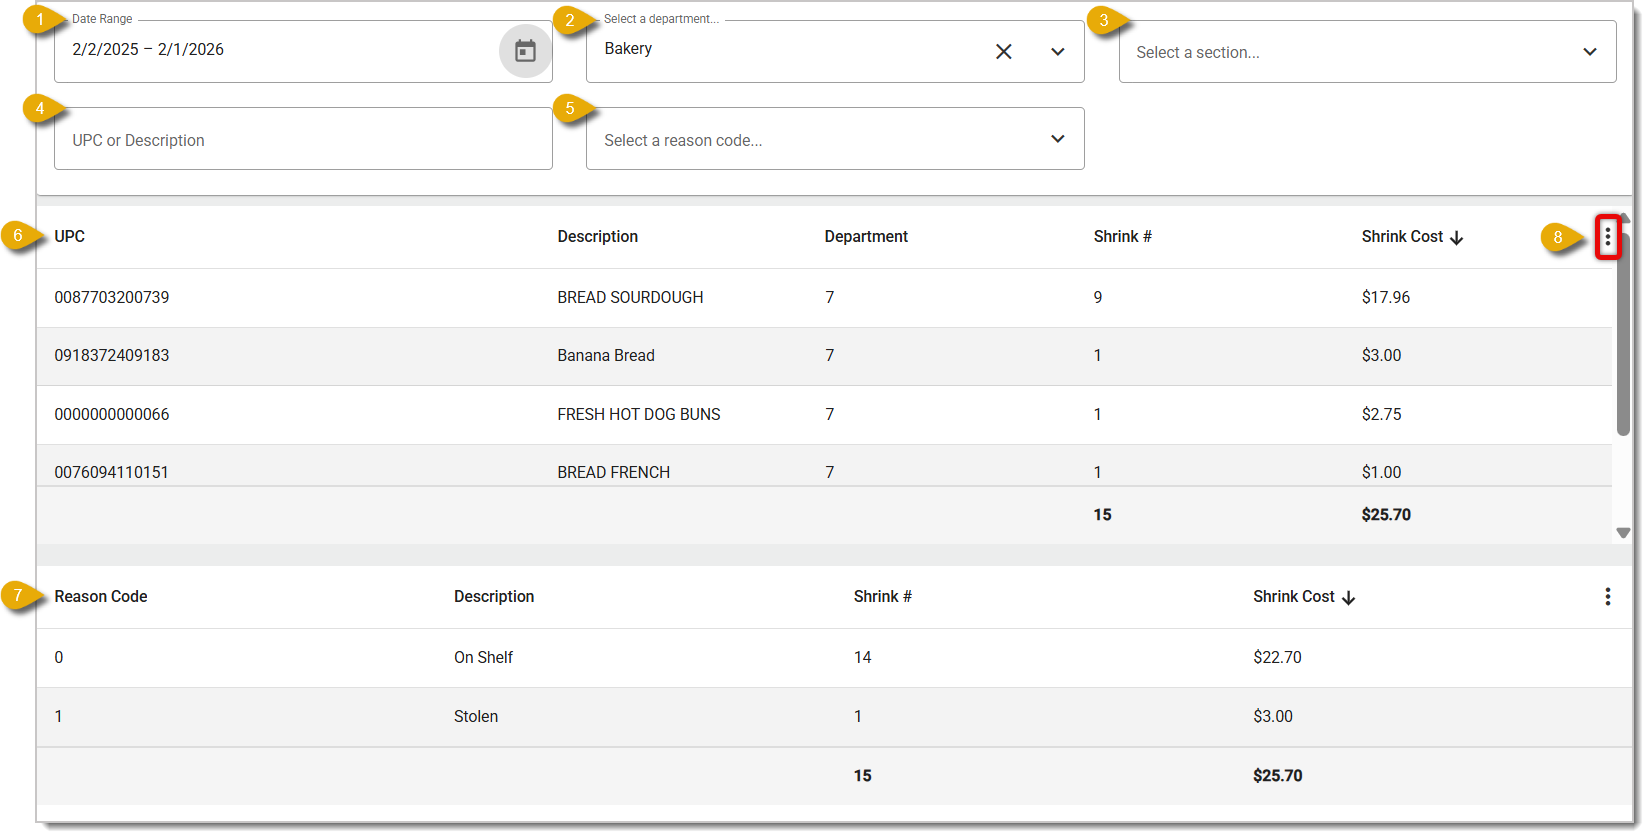
The Shrink Report compiles and presents your inventory shrinkage data. Use the Shrink Report to quickly check what products you've lost and the total value of these losses.
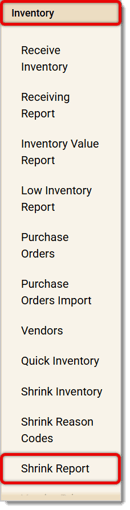
To access your Shrink Report, go to Inventory > Shrink Report.
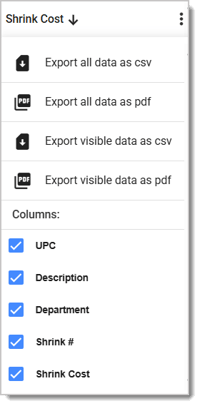
In the Shrink Report, you'll find two different tables showing shrinkage data, as in the image below. You can adjust filters using the fields above the tables. Here's how you can use them:
Q: I have a question, but I can't find my answer here. How do I get more assistance?
A: If you need immediate assistance, the IT Retail team is available 24/7. Feel free to contact our support team at 877-752-0625. You can also email us at support@marktpos.com, and we will respond within 24 hours.
Is this page helpful?
×Help us improve our articles