







Cashier Training
Welcome to IT Retail, we’re so glad you’ve chosen our POS for your store! This article will guide yo
 December 03, 2025
You can set your customers to be able to charge items to an in-store account if you like. This article will show you how to set up and manage those accounts and how your customers can use their charge accounts in the Front End. Check out how easy it is to work with customer balances!
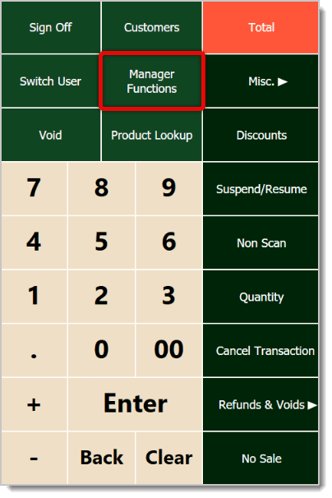
From the register, click or tap on Manager Functions in the panel.
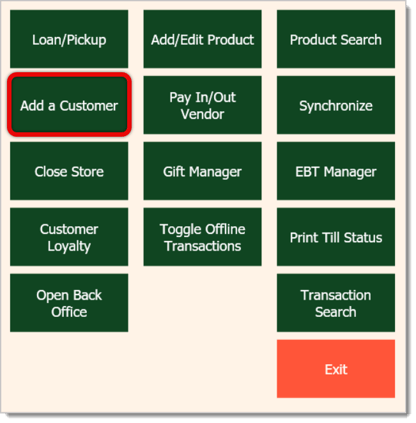
After the Manager Functions window opens, click or tap the Add a Customer button.
A window will open so you can add the customer’s information. In addition to the normal information you would add for the customer, the highlighted areas below are required in order to activate a charge account for them:
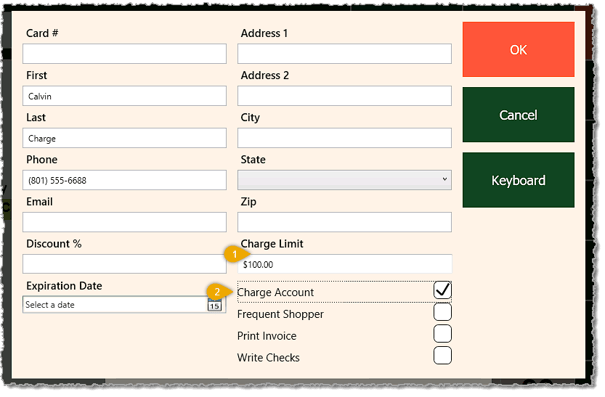
Once those are set up along with the rest of the customer’s information, click or tap on the OK button to add the customer. You’ll see a window that reads Customer successfully saved. The customer is now ready to use their charge account!
You will need to sign into the Back End to make this adjustment. After opening the Back End, go to Customers & Discounts > Customers and follow these steps:
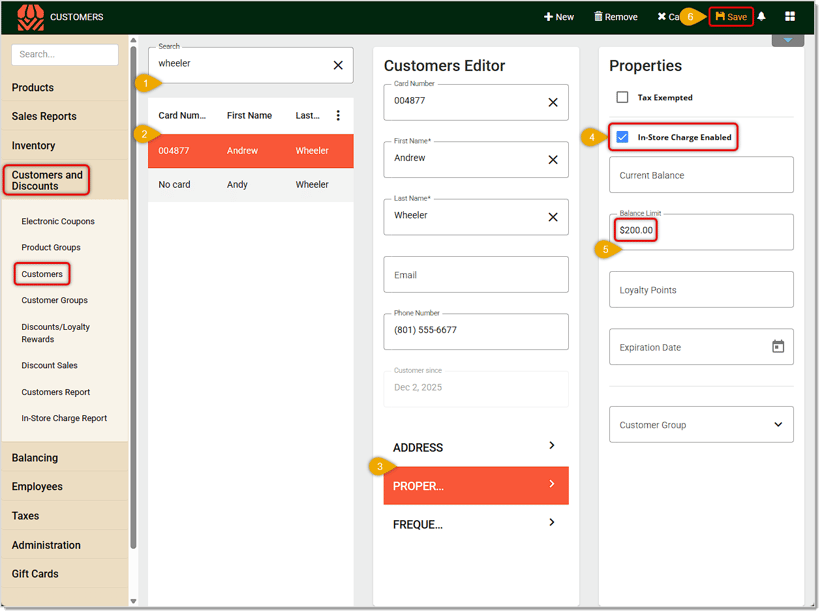
A confirmation will pop up in the upper right letting you know the customer has been updated. The customer will now be able to use their charge account in your store!
In the Front End, when you load a customer that has a charge account that's active, you'll see the following information:
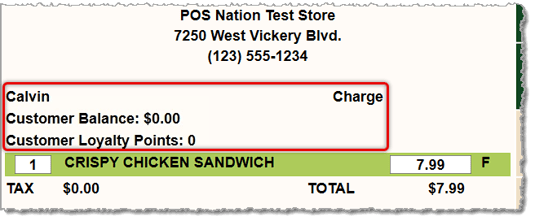
After adding whatever the customer is purchasing into the sale, follow these steps use their charge account to pay:
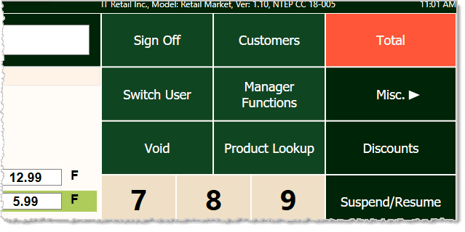
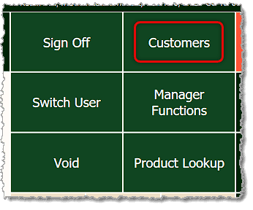
1. To start, load the customer making the payment into the Front End by clicking Customers.
Please Note: You need to NOT have any items loaded into the transaction: account balance payment transactions need to be empty to work.
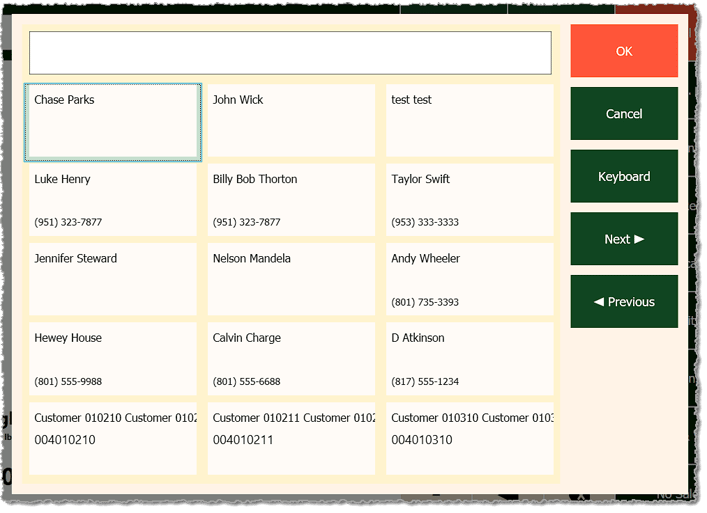
2. Find the customer you want and click or tap on their thumbnail, then click or tap the OK button to load them into the register.
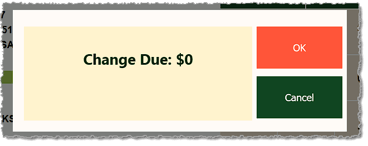
3. Click or tap the Total button in the upper right to proceed.
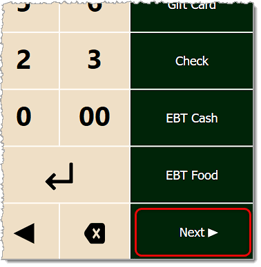
4. Click or tap the Next button below the different Tender Types.
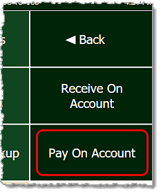
5. Click or tap the Receive On Account button.
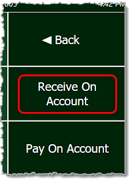
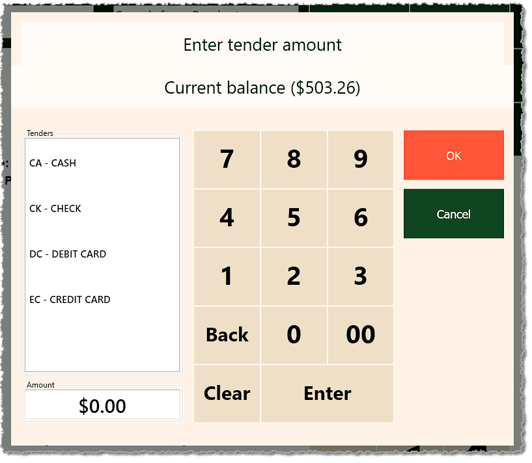
6. If a customer is loaded into the transaction and they have a balance they owe the store, you can use Receive On Account to let them make a payment toward their balance, as pictured below. Select the method they'll use for payment on the left, then enter the amount and click or tap the OK button to take the payment. Payments made this way will appear on the In-Store Charge Report in the Customers & Discounts area of the Back End.
Please Note: For transactions of this type, you cannot have other items in the transaction.
How to Create Customers in the Front End
Q: Where do I track what the customers owe?
A: Use the In-Store Charge Report to see customers with outstanding balances on their In-Store Charge Accounts and to generate invoices as PDF files you can send to the customer as a bill statement. See the article linked above for full details.
Q: I have a question, but I can't find my answer here. How do I get more assistance?
A: If you need immediate assistance, the IT Retail team is available 24/7. Feel free to contact our support team at: 877-752-0625. Or you can email us at support@marktpos.com and we will respond within 24-hours.
Is this page helpful?
×Help us improve our articles