







How to Create Customers in the Front End
If a customer wants to sign up for your store’s membership program, you can add them in the Front En
 December 23, 2025
In-store charge accounts are great if you want to let customers "run a tab." They're also useful if your store caters to schools, restaurants, and similar businesses that would pay you monthly for purchased items. The IT Retail system will track all items purchased on credit and then allow customers to pay their balance periodically. Read on to see how easy it is to set up an in-store account!
Before you can set up an account for a customer, you first need to enable that account for them. Here's how.
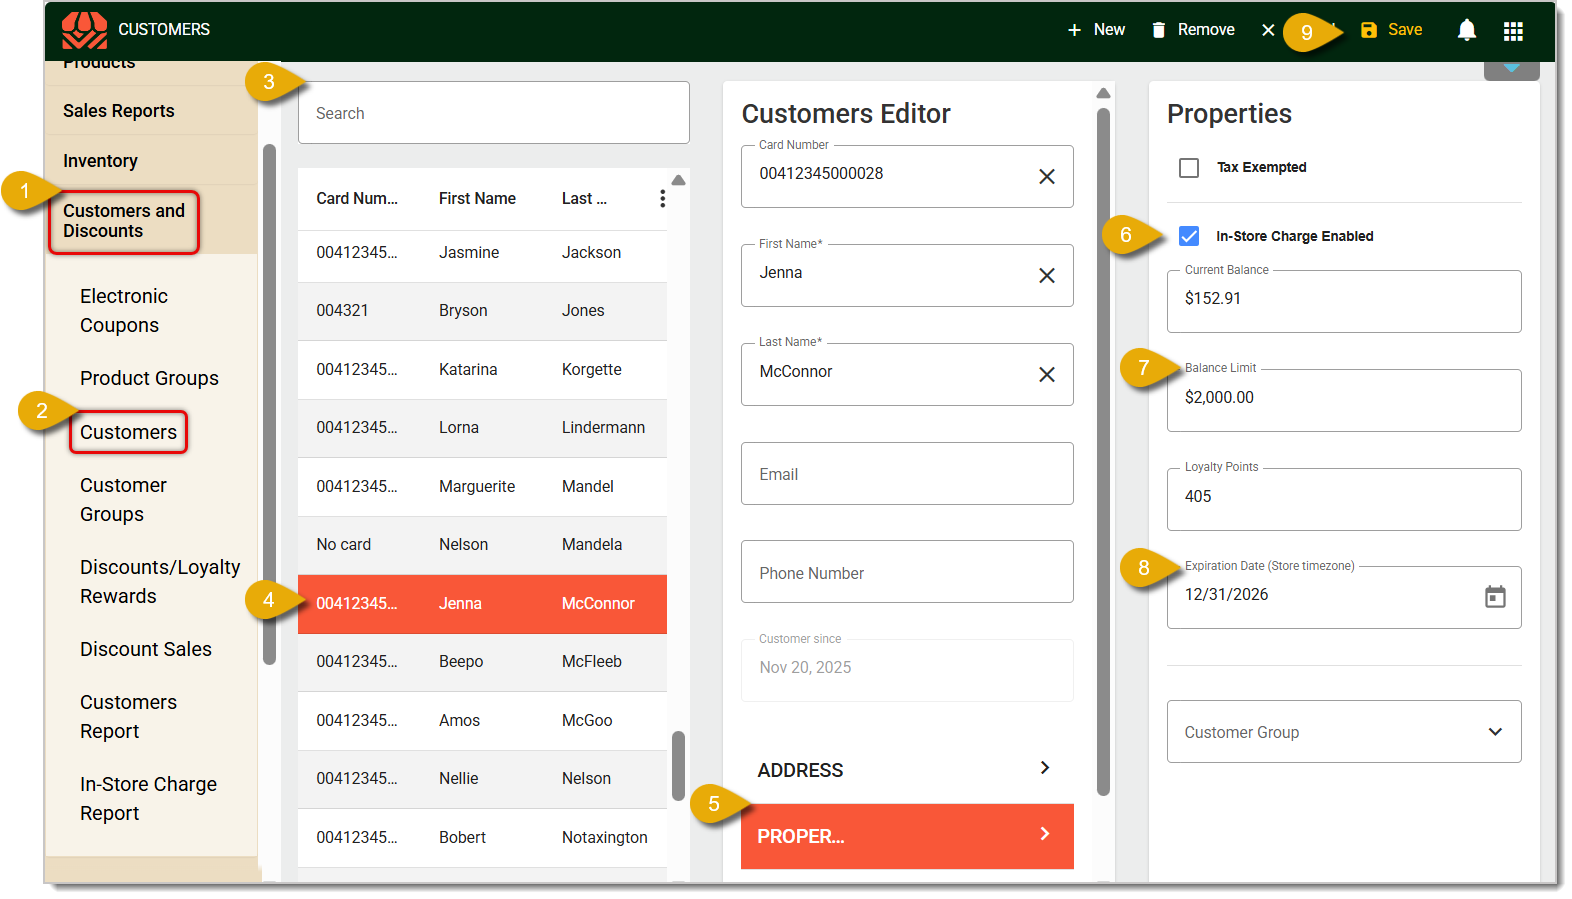
Email support@marktpos.com and request for In-Store Charge Payment Tender options under Total. Our support team will log into your registers and update the available tenders to add Receive On Account and Pay On Account buttons.
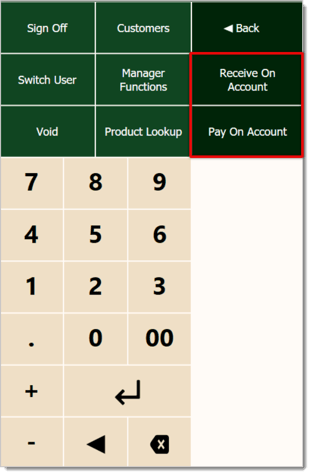
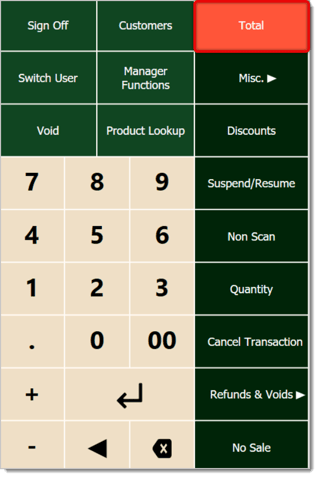
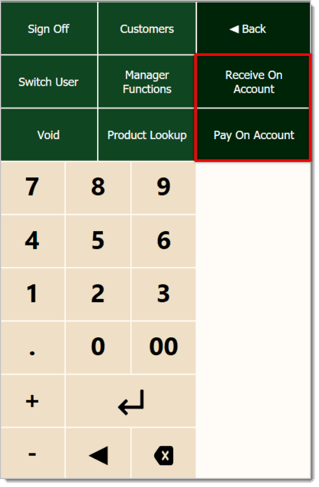
To start, the customer will begin a transaction. After you have added all items to the transaction, click or tap on Total in the upper right. You may need to click or tap on Next if you don't see Pay On Account.
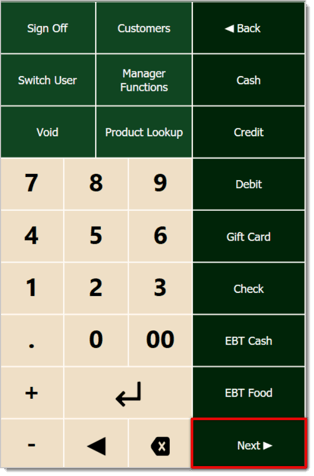
Click or tap on the Pay On Account button.
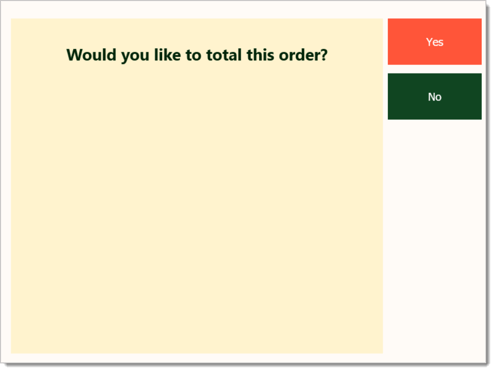
If a customer has not already been added to the transaction, the system will prompt you to add one. Then it will ask if you want to total the order, meaning you wan to complete the transaction with the Pay On Account payment method. Click or tap on Yes.
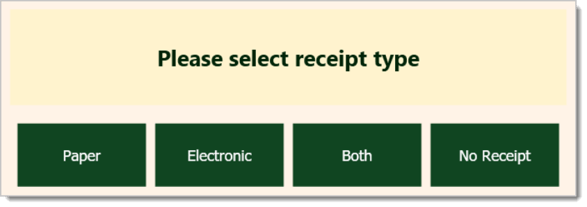
The transaction will close, and you'll see a window asking how the customer wants their receipt. The receipt will show the customer's previous balance, amount charged, and new balance.
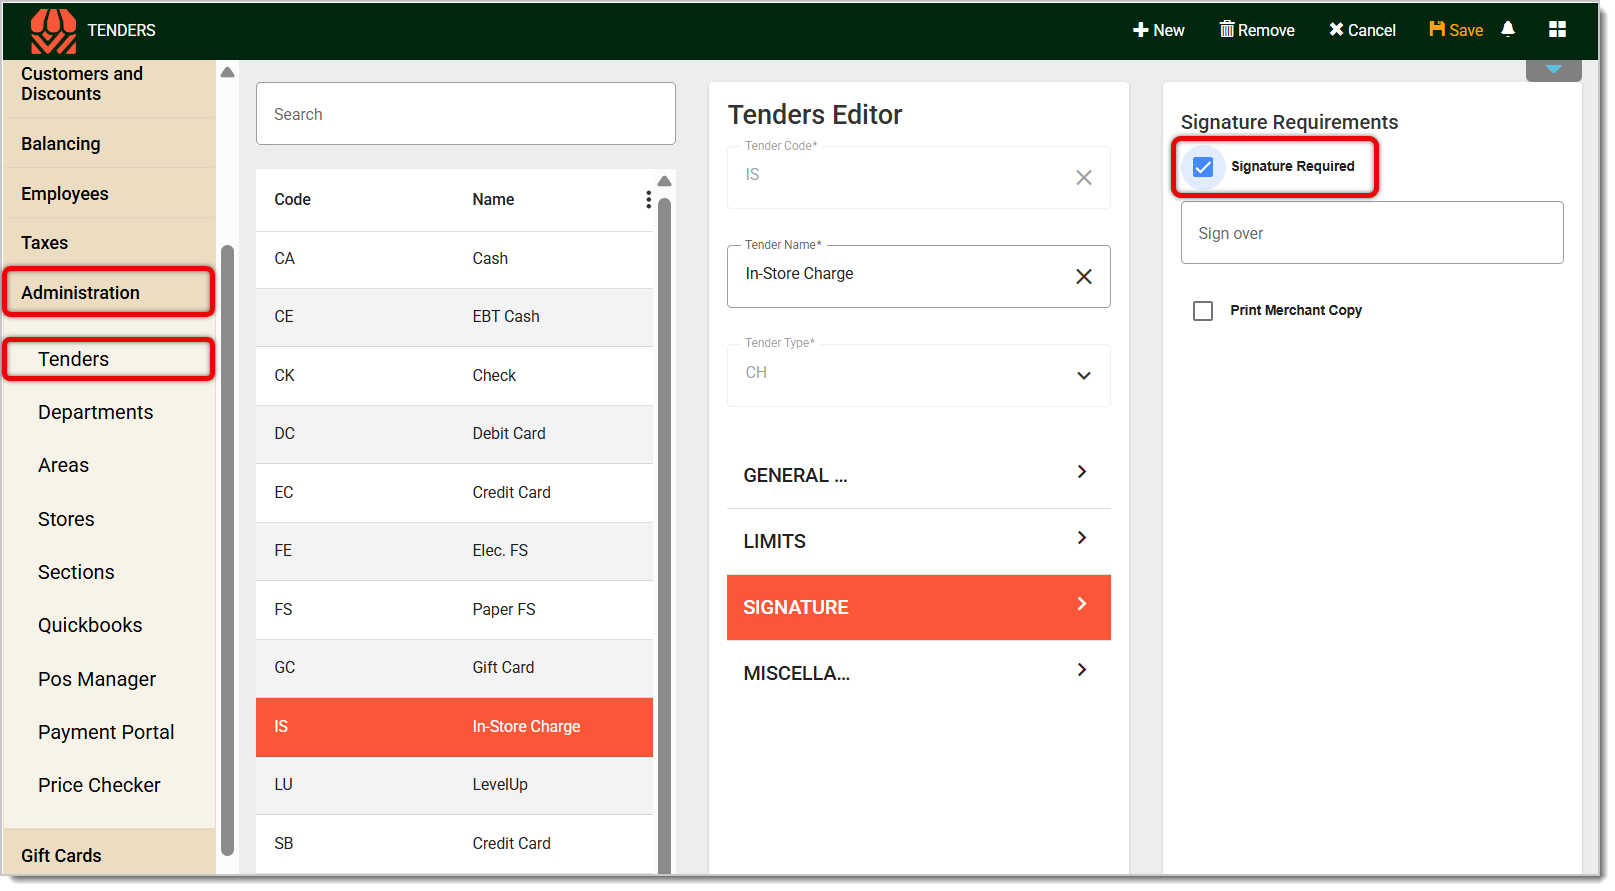
If you'd like for a transaction paid in this way to require a signature, update the signature threshold for In-Store charges from the Back End. Go to Administration > Tenders, then click on the Tender for In-Store Charge. Click on the Signature tab, and check the box next to Signature Required. Be sure to click the Save button in the top-right corner once you're done.
At some point, the customer should start to pay off their in-store account's balance. Here's how to handle that in the Front End:
First add the customer by clicking or tapping on Customers, then searching for and clicking or tapping on the customer.
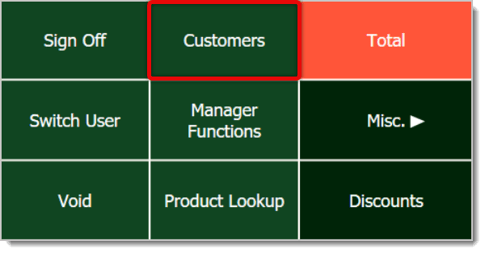
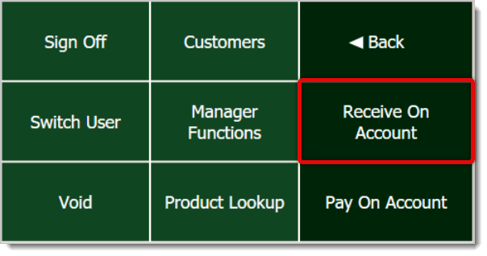
Similar to how we finish transactions in the Front End, click or tap on Total, then click on Next if needed until you reach Receive on Account. Click or tap on it.
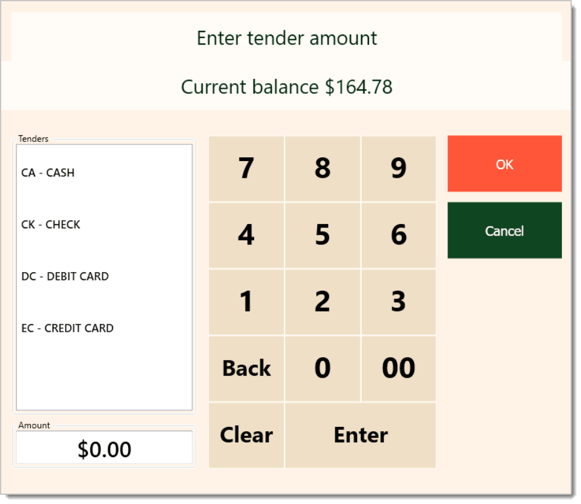
A window will pop up. Use the number keypad to enter the amount the customer is paying, which you'll see in the bottom-left corner. Then select the Tender Type on the left. Click or tap on Ok or Enter to finalize the payment.
The IT Retail will finally ask if the customer wants a receipt printed, sent electronically, both, or none.
If you want to view reports and print out invoices for your In-Store Charge Accounts, you can read our article about In-Store Charge Reports linked below.
Q: I have a question, but I can't find my answer here. How do I get more assistance?
A: If you need immediate assistance, the IT Retail team is available 24/7. Feel free to contact our support team at 877-752-0625. You can also email us at support@marktpos.com, and we will respond within 24 hours.
Is this page helpful?
×Help us improve our articles