







Cashier Training
Welcome to IT Retail, we’re so glad you’ve chosen our POS for your store! This article will guide yo
 December 30, 2025
When you want to keep track of your employees' hours for payroll, use the Employee Timesheet in the IT Retail Back End. Read on to see how employees can enter their hours from the Front End and how you can use the Employee Timesheet page.
The easiest way to record shifts for the Employee Timesheet is to have employees clock in and out in the Front End. There are two places in the Front End to do that:
1. Clock In or Out Before Signing In or Out
From the Sign-in Page on the Front End, employees can first tap or click on Clock In / Out before they sign in.
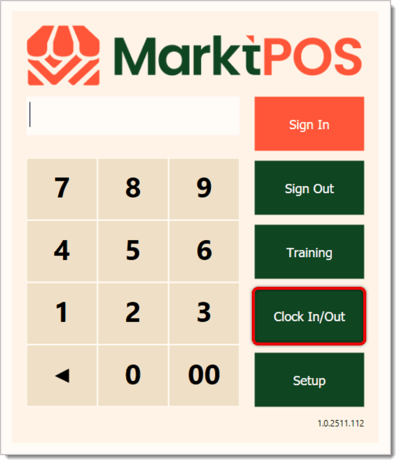
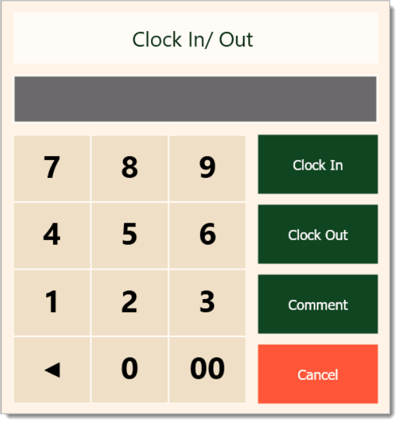
Then they'll enter their PIN number and tap or click on Clock In or Clock Out. Employees can also click on Comment to leave a note about their shift, such as a reason why they're late.
2. Clock In / Out After Signing In
If an employee has already signed into the Front End but they forgot to clock in, they can still do that in the register.
On the right-hand panel of the Front End, click or tap on Miscellaneous.
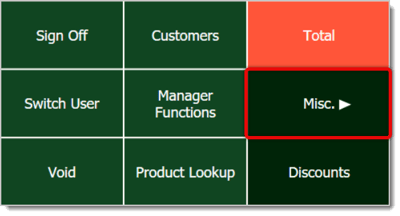
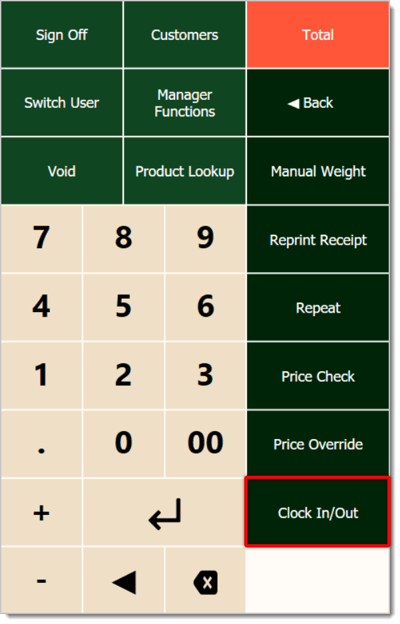
After opening Miscellaneous options, the employee can tap or click on Clock In / Out towards the bottom of the screen. Then they can enter their password and click or tap on Clock In and Clock Out, just like they would if they hadn't already signed in.
If an employee forgot to clock in or out altogether, or if you prefer to log hours this way, you can add their shifts from the Back End. Here is how to work with the Employee Timesheet to manually add hours:
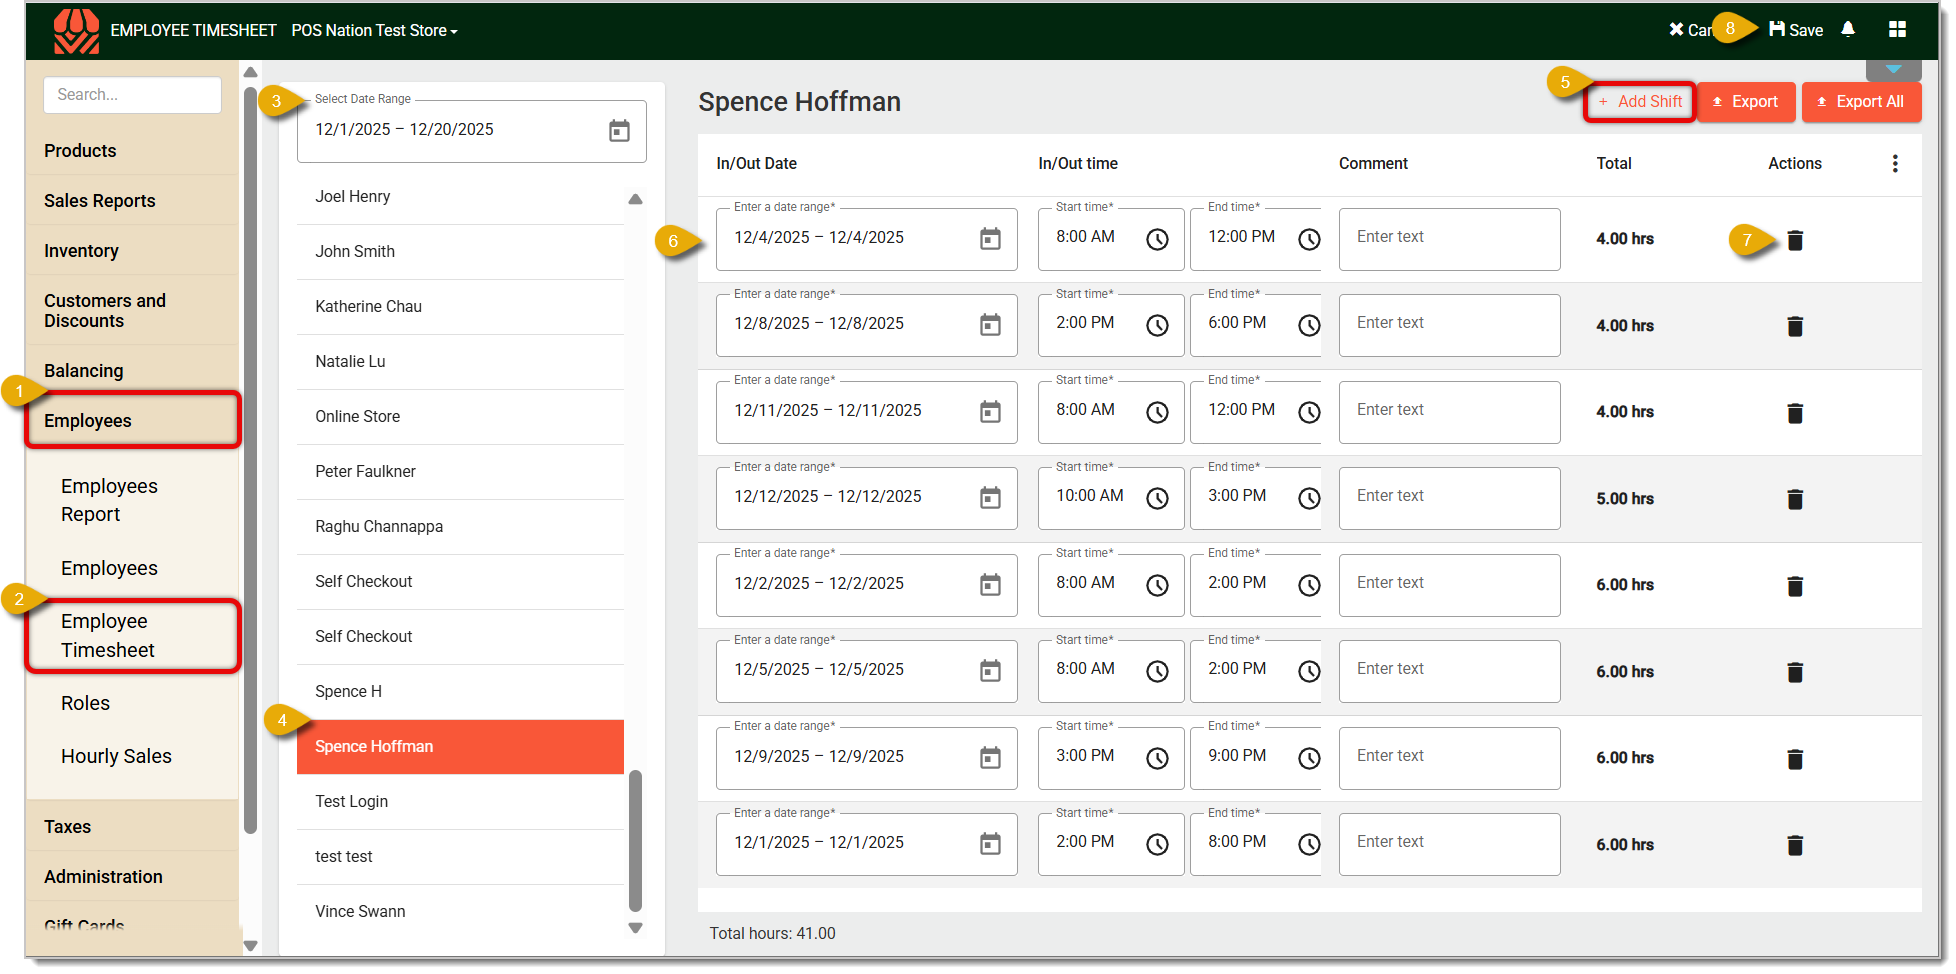

To export an employee's Timesheet, click on either Export or Export All in the upper right. You'll be prompted to save the timesheet as a PDF file. The Export button will only make a file with the employee's hours for the individual selected. Export All will export a file containing all hours for your employees within your selected date range. 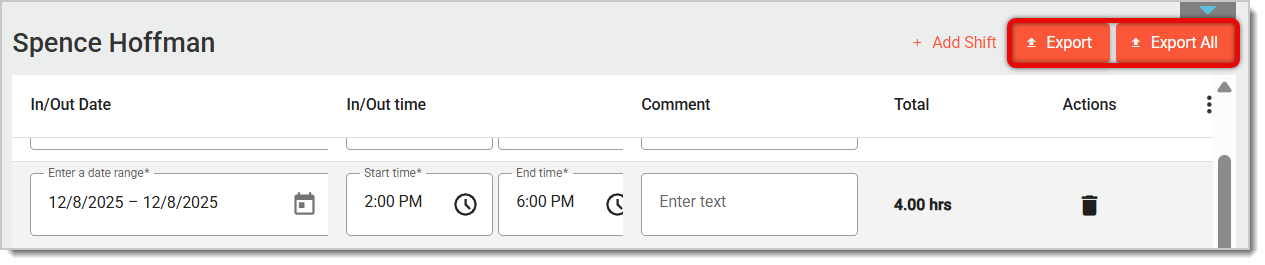
Q: I have a question, but I can't find my answer here. How do I get more assistance?
A: If you need immediate assistance, the IT Retail team is available 24/7. Feel free to contact our support team at 877-752-0625. You can also email us at support@marktpos.com, and we will respond within 24 hours.
Is this page helpful?
×Help us improve our articles